
How to Create a WordPress Order Form in 3 Easy Steps
Are you looking to add a simple order form to your website? If so, WPForms is the tool for you! With it, you can create a WordPress Order Form in a matter of minutes. Here’s how!
This post contains affiliate links, which means I may earn a small commission at no extra cost to you. For more information, please see my disclosure here. Thank you for your support!
Whether you need to accept payments from your customers on your website or just need to collect information to then invoice them, a simple order form is the way to go.
If you’re looking for the best tool to create a simple WordPress order form, WPForms is the tool for you.
In this post, I am going to show you how you can add an order form to your site in a matter of minutes!
Let’s get started.
Create a Simple WordPress Order Form
The first step to create a WordPress order form on your site is to install and activate the WPForms plugin.
To do this, navigate to the Plugins tab on your WordPress dashboard and search for WPForms:
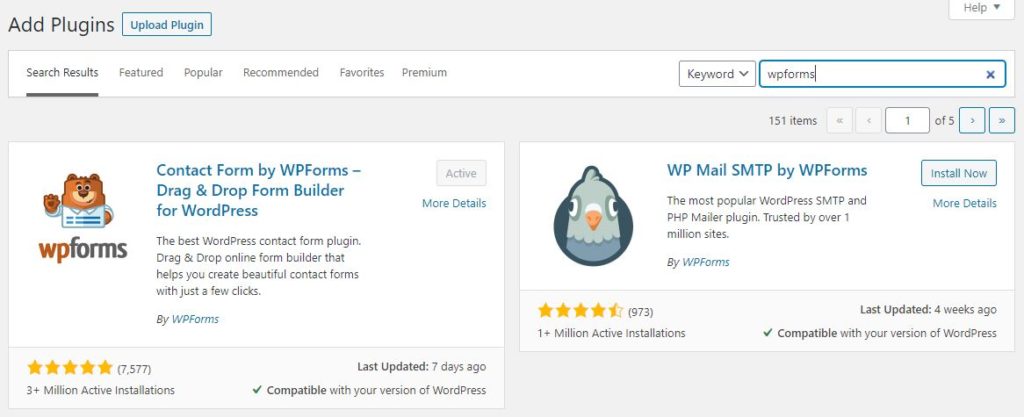
Click on the “Install” button and then click on “Activate”.
Now you’re ready to use your WPForms plugin!
Create a WordPress Order Form Without Payments
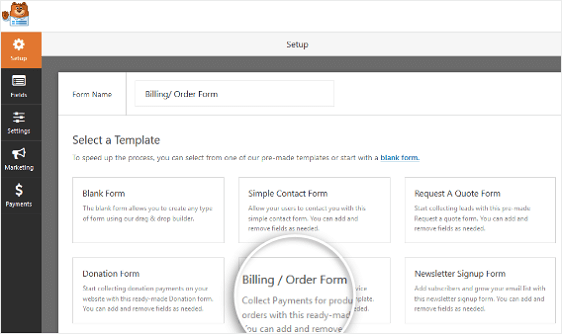
To create a WordPress order form, you then want to nativate to WPForms » Add New, name your form, and click on the Billing/Order Form template.
Step 1: Customize Available Items
In the Form Editor, customize the items available for customers to order.
You can upload several images of each item to show customers exactly what they’re buying. You can also customize the order fields depending on what fields you need to complete the order.
Once you’re done customizing the settings, click save.
Step 2: Configure Your Order Settings
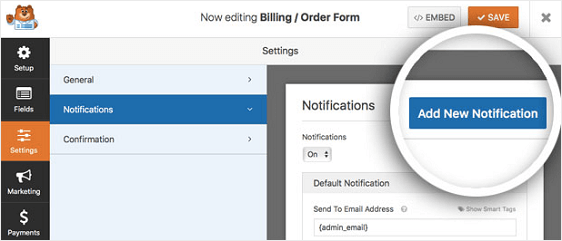
Once your form is customized to your liking, you want to configure the notification settings so customers can get an email confirmation for the order.
In addition, you can configure the notifications you’ll receive about the orders that are submitted.
To configure these settings, go to “Notifications” under the settings in the form editor.
To make sure the customer received a notification, click “Show Smart Tags” under “Send To Email Address” and select the email option.
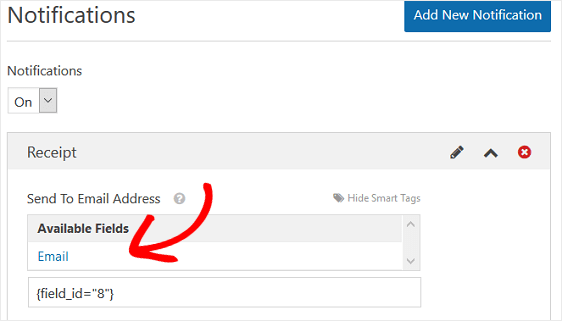
This basically tells WPForms that whatever email address was entered on the order form that was submitted should receive a notification.
You can also modify the body of the message, subject line, etc.
Lastly, you also want to configure the confirmation message the customer will receive right after placing their order.
Whether you want the customer to be redirected to a thank you page, to your home page, or just see a message on screen, you can customize this by going to the “Confirmation” tab under settings in the form editor.
That’s it for customization!
Step 3: Add your WordPress order form to your site
After you’ve customized your form, you want to add it to your site. With WPForms you can add your form to blog posts, pages and any area where you can add a widget.
If you want to add your form to a page or a post, click on the “Add WPForms” icon for the block where you want the form.
Next, select the form you’d like from the dropdown menu:
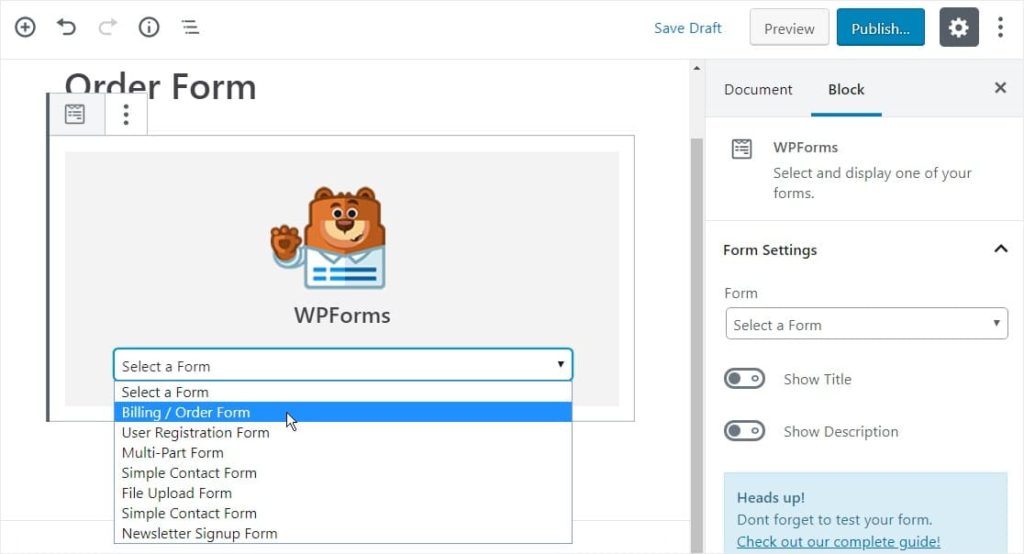
That’s it! Your form will now be embedded in the post or page.
To add your WordPress order form to a widget area, go to Appearance » Widgets. Then, select the Billing/Order Form from the dropdown menu.
Make sure you save any changes.
Create a WordPress Order Form With Payments
To create a WordPress order form and accept payments on it, you’ll want to follow the same steps as above to create the form and customize the notifications and confirmation messages.
Next, you want to configure your payment settings.
For this step you’ll want to connect to your payment provider so you can collect payments from your customers.
WPForms allows integrations with PayPal, Stripe, and Authorize.net.
First, install and activate the correct payment addon. For step by step instructions check out these handy guides for PayPal and Stripe.
Once you’ve done that, click on the Payments tab in the form editor. Select the provider of your choice and adjust the settings as needed.
Don’t forget to click Save when you’re done making your selections!
Once you’re ready to add your WordPress order form to your site in the same manner we discussed above.
If you prefer to watch a video tutorial to get up and running with WPForm‘s simple order form, check out this step by step guide:
That’s it!
Now you know how to add a simple order form to your WordPress site. With your newly created form, you can start taking orders from your customers, and making money with your site!
So what are you waiting for? Get started with WPForms today and start using their simple order forms on your WordPress site!
Did you like this post? Don’t forget to share it!